Framing begins
With the design finalised and signed off, timber sourced and delivered, sorted and then allocated to its appropriate position in the frame according to it's grain and other features, the cutting can begin...almost.
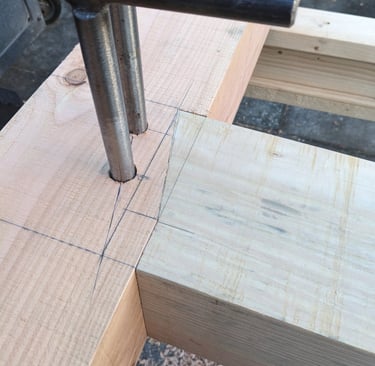
The first stage in fabricating the frame will be the scribe or layout of where all the joinery needs to go, and I will use a few common methods for this. Traditional scribe methods haven't changed for centuries and are incredibly accurate. When working with green timber, it is often imperfect or not square so scribe rule joinery using plumb bobs and very large dividers. Each timber is individually marked and cut and will only fit in its place within the assembly.
Cutting edge technology
Today we use a mix of modern and traditional tools from the plumb bob to the laptop and everything in between! The main tools and methods though are still by hand, I use a set of specialised heavy duty framing chisels, hand planes, circular saws and a chain mortiser. Just as important as the methods and skill with the tools though is how well they are maintained and sharpened, a sharp tool is key to accurate joinery. So before any work starts all the tools will get sharpened and regularly throughout the framing process.
Scroll on down to see some examples of my craftsmanship!
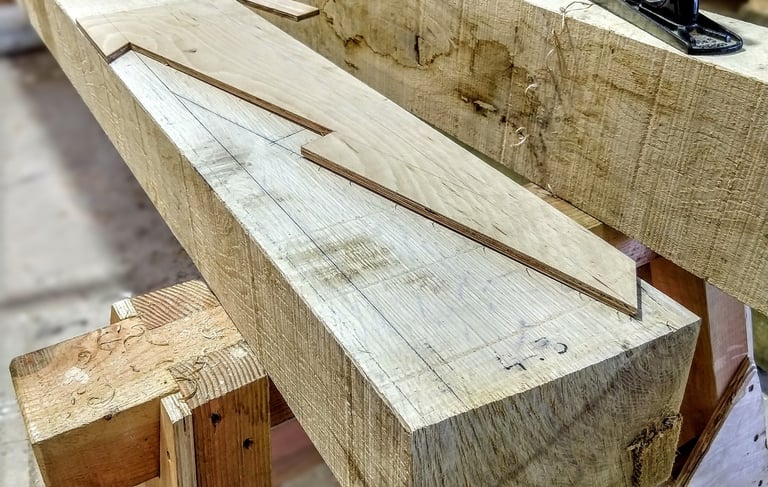
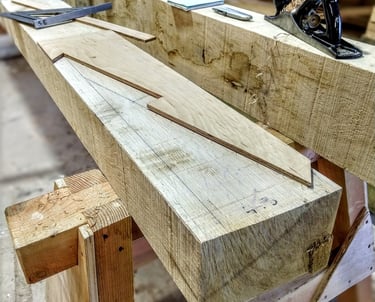
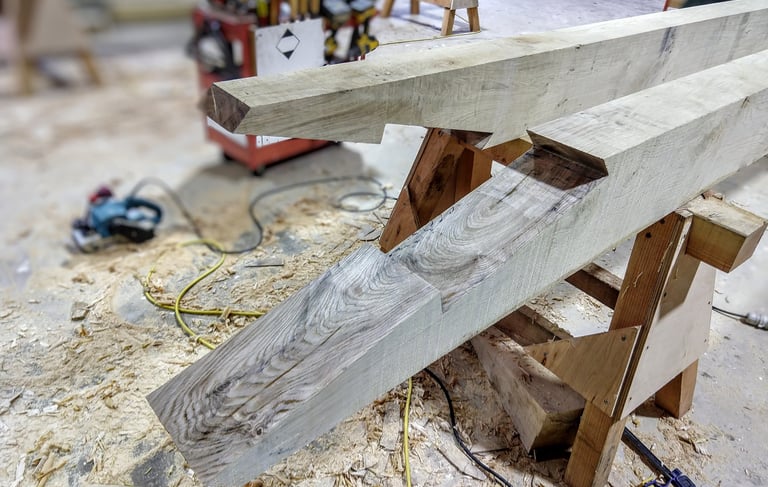
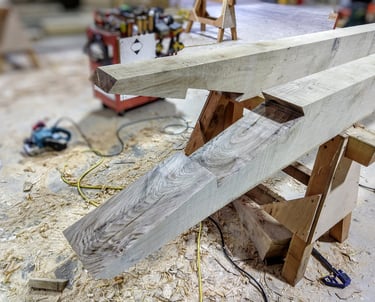
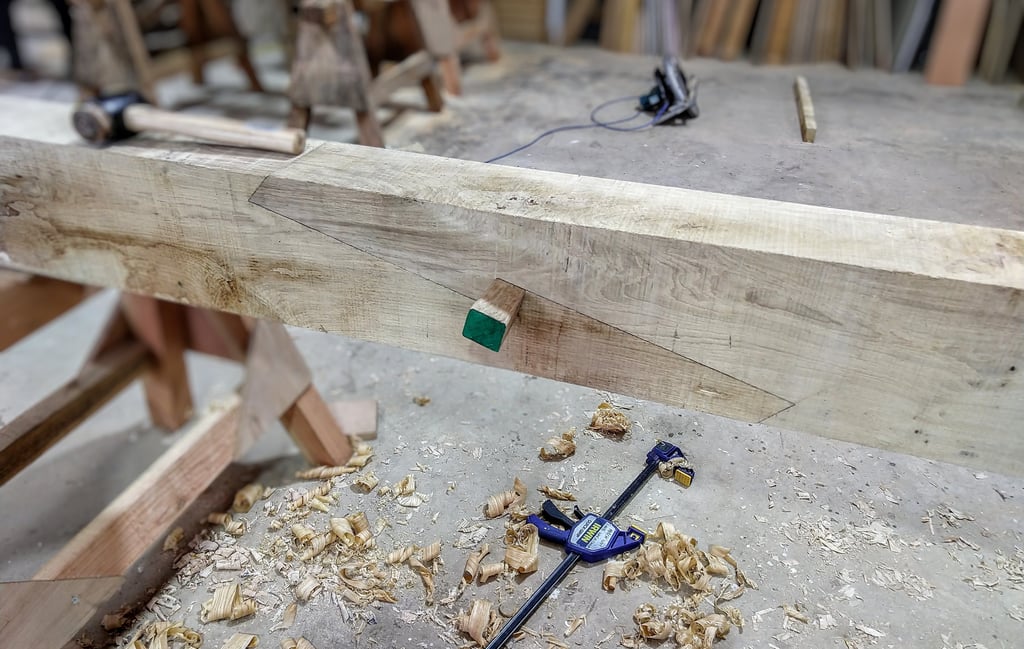
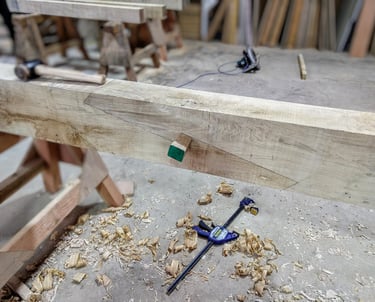
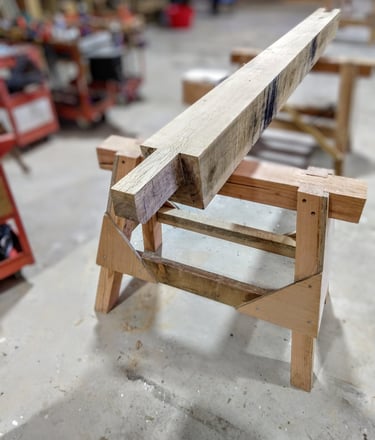
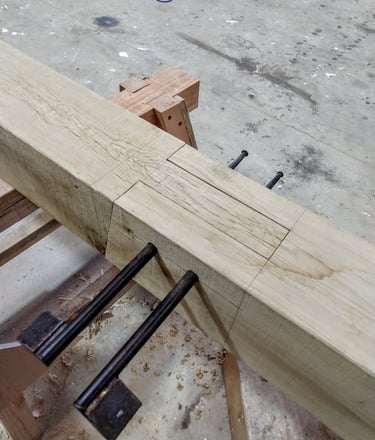
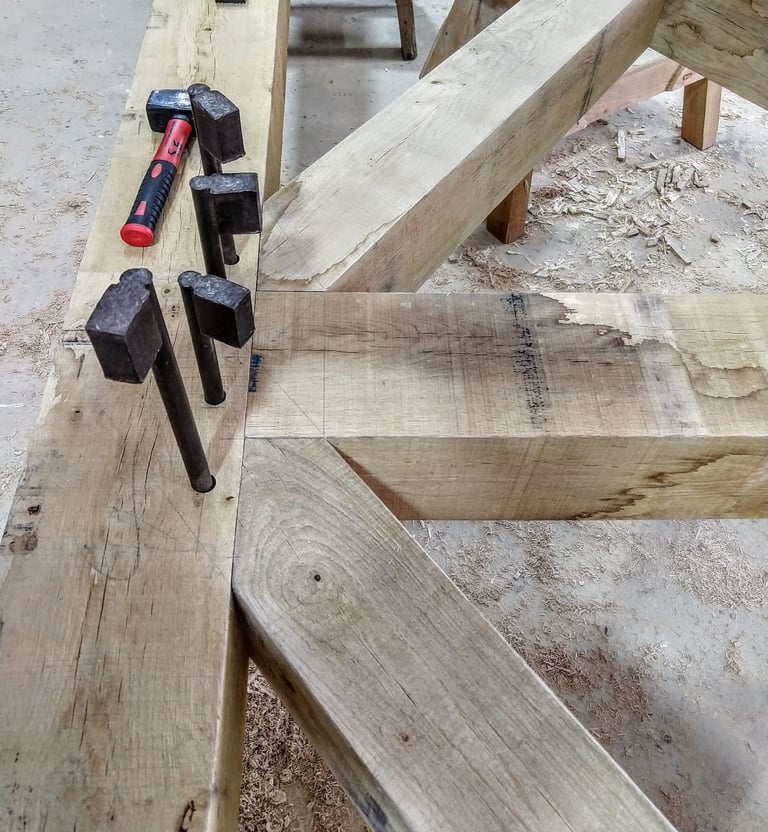
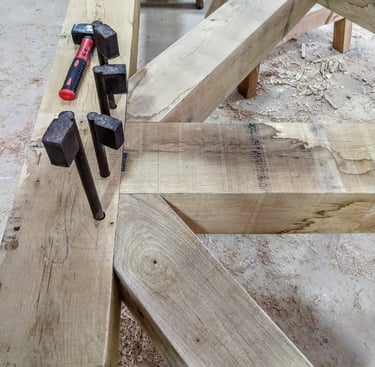
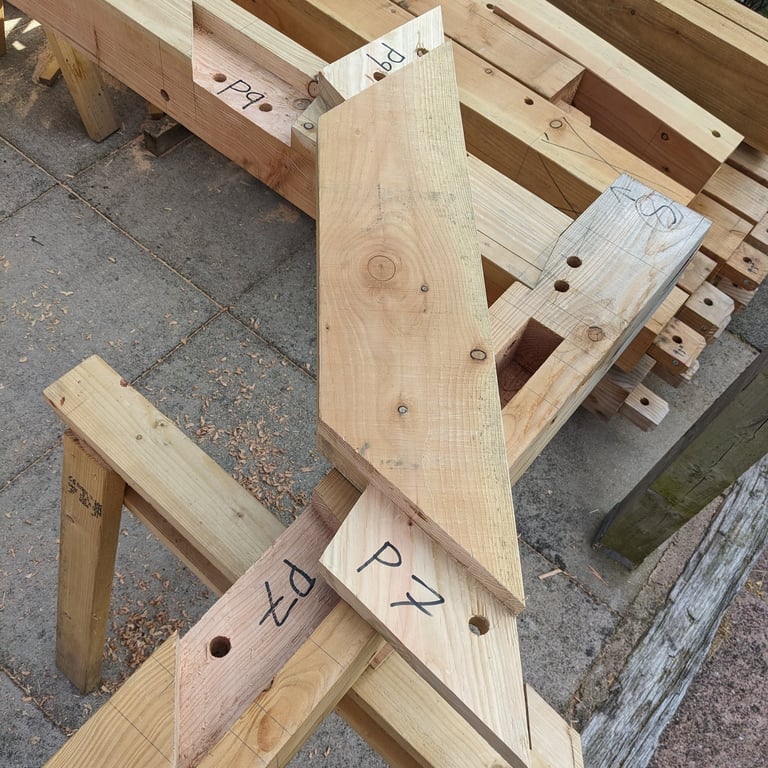
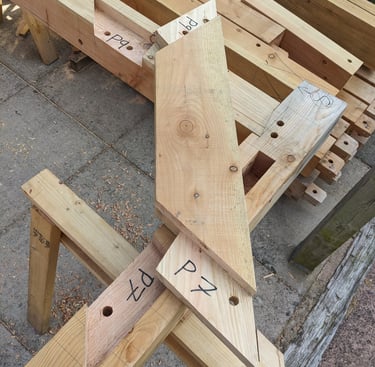
Joint name: Under squinted stop splayed scarf with table and wedge
Joint usage: A scarf joint is used when connecting long spans of timber such as a tie beam. This particular scarf joint (of which there are many variations) is common in timber framing as it provides fantastic strength in tension and vertical bending loads. Normal practice is to locate this joint near a post and brace for optimal stability but not over a post where the shear stress is greatest. Accuracy is key here for a strong joint!

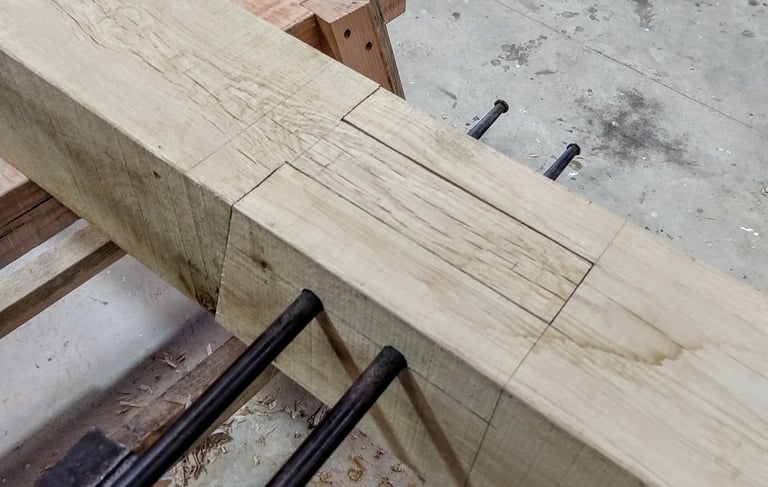
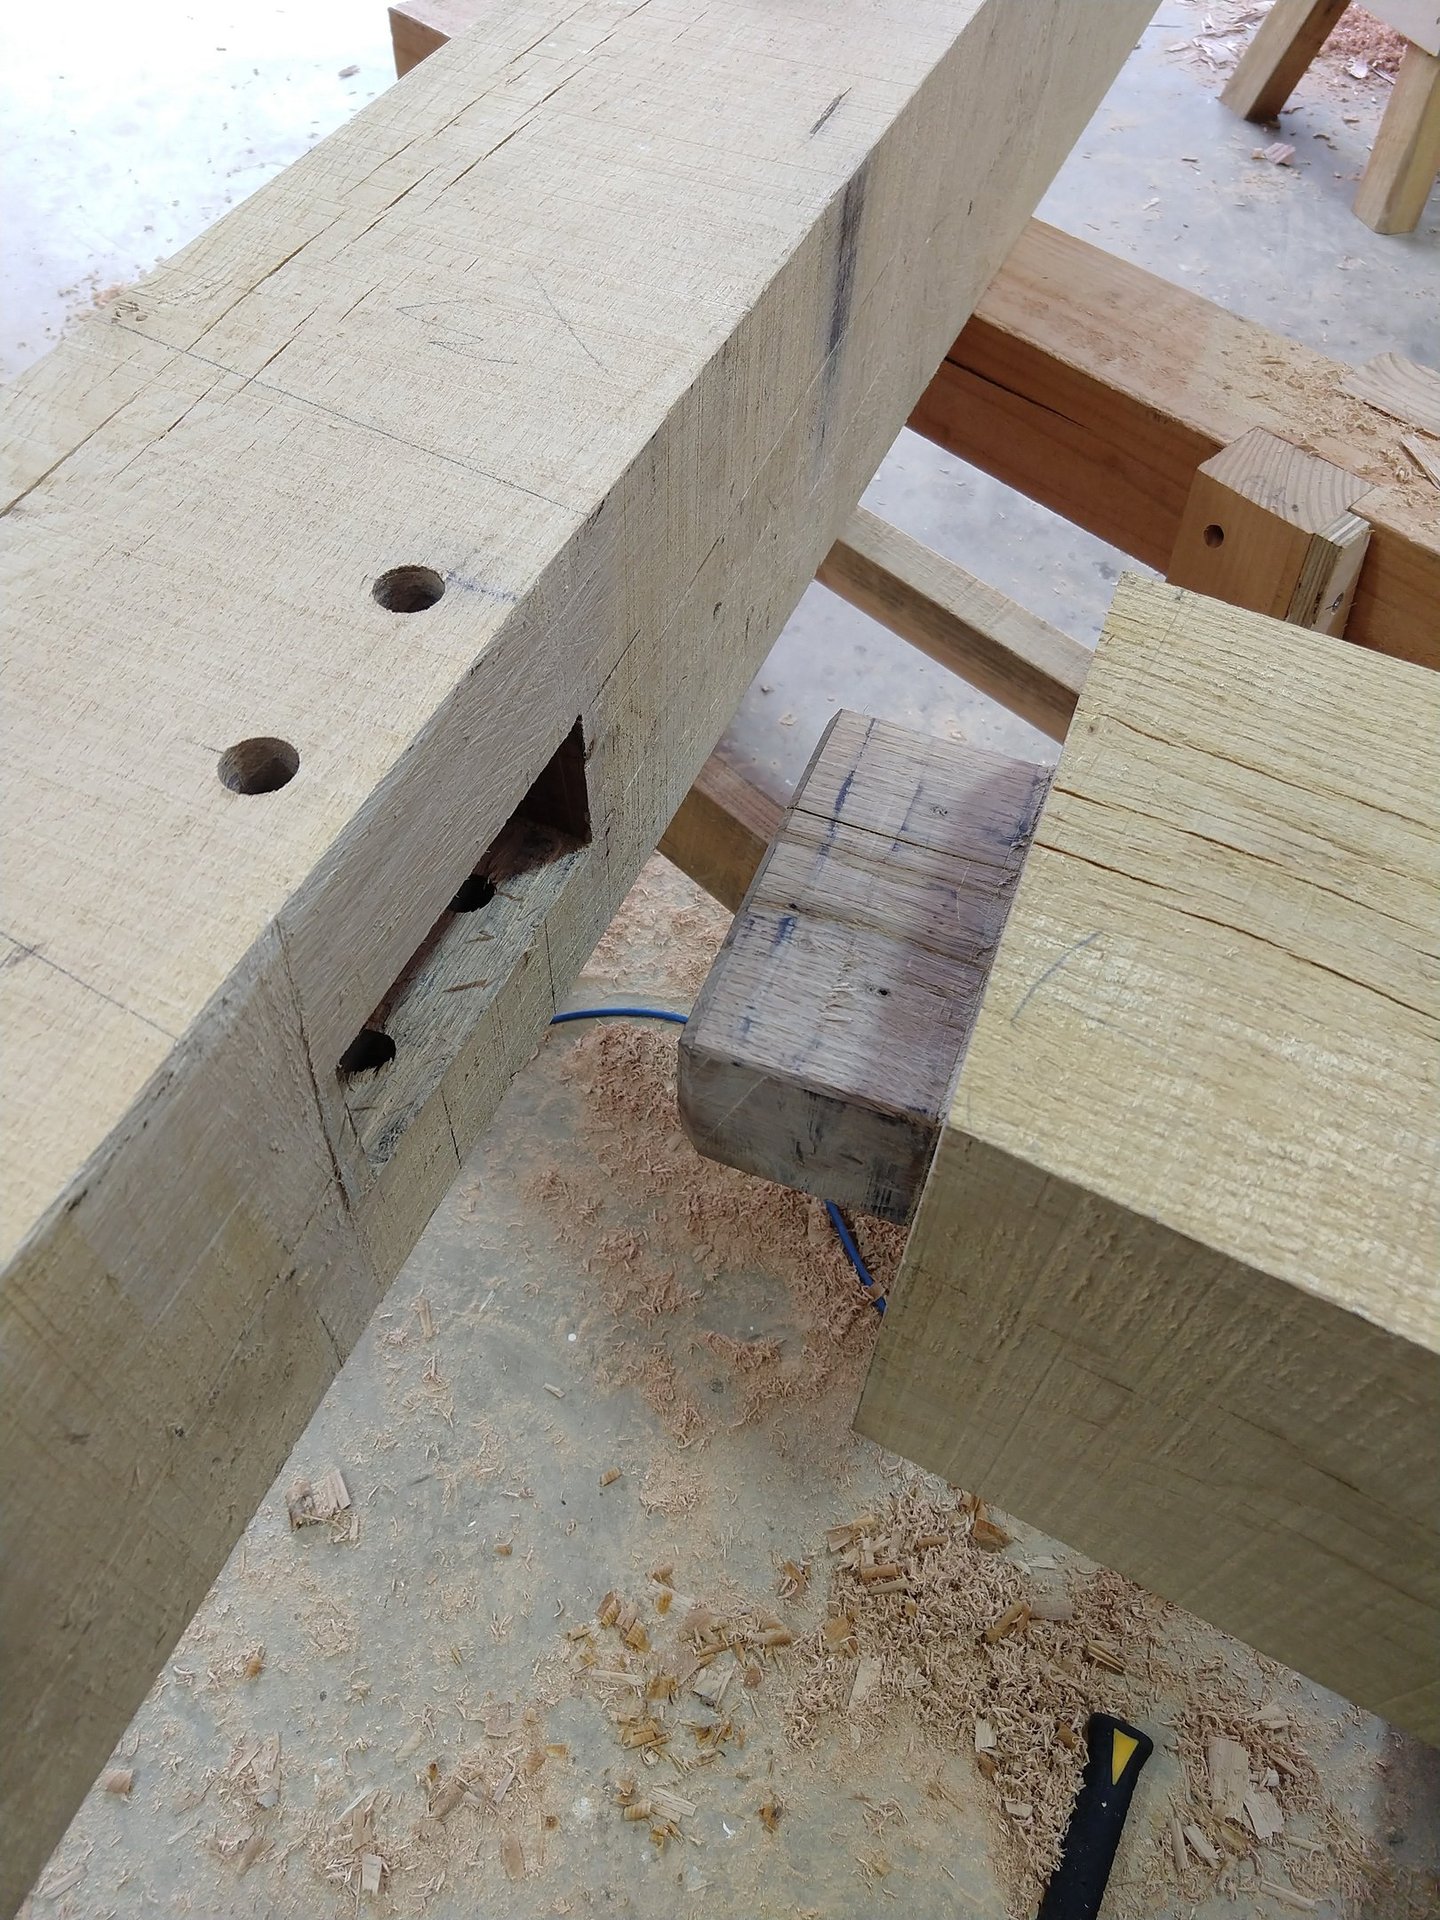
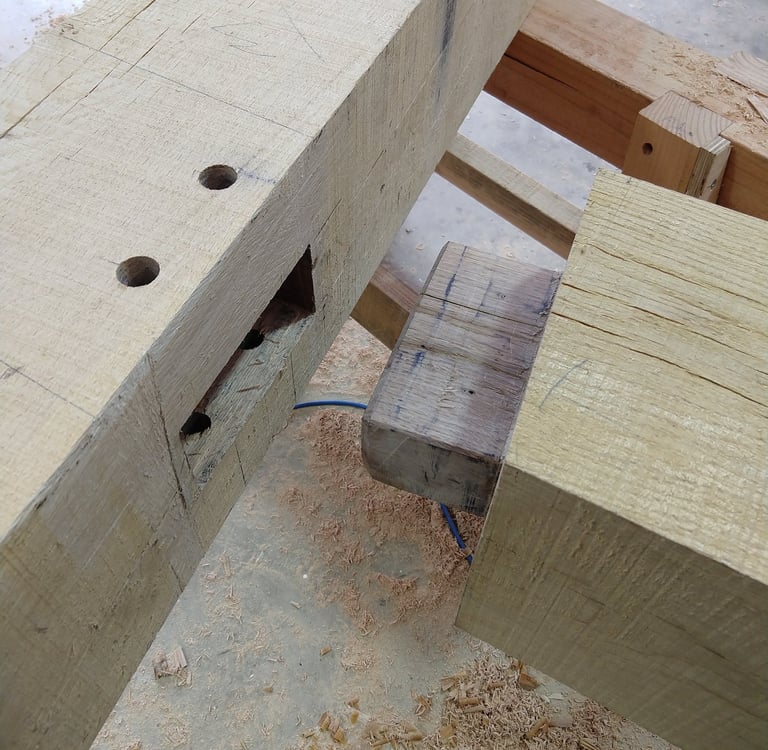
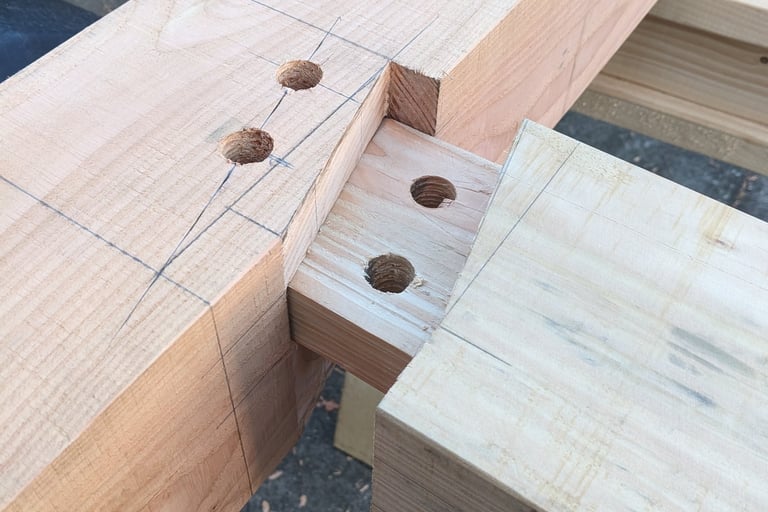
Joint name: Bridle scarf
Joint usage: These are another variation of scarf joint commonly used in wall and sole plates to extend the lengths of a timber, they work well with vertical and horizontal loads when positioned correctly in the structure.
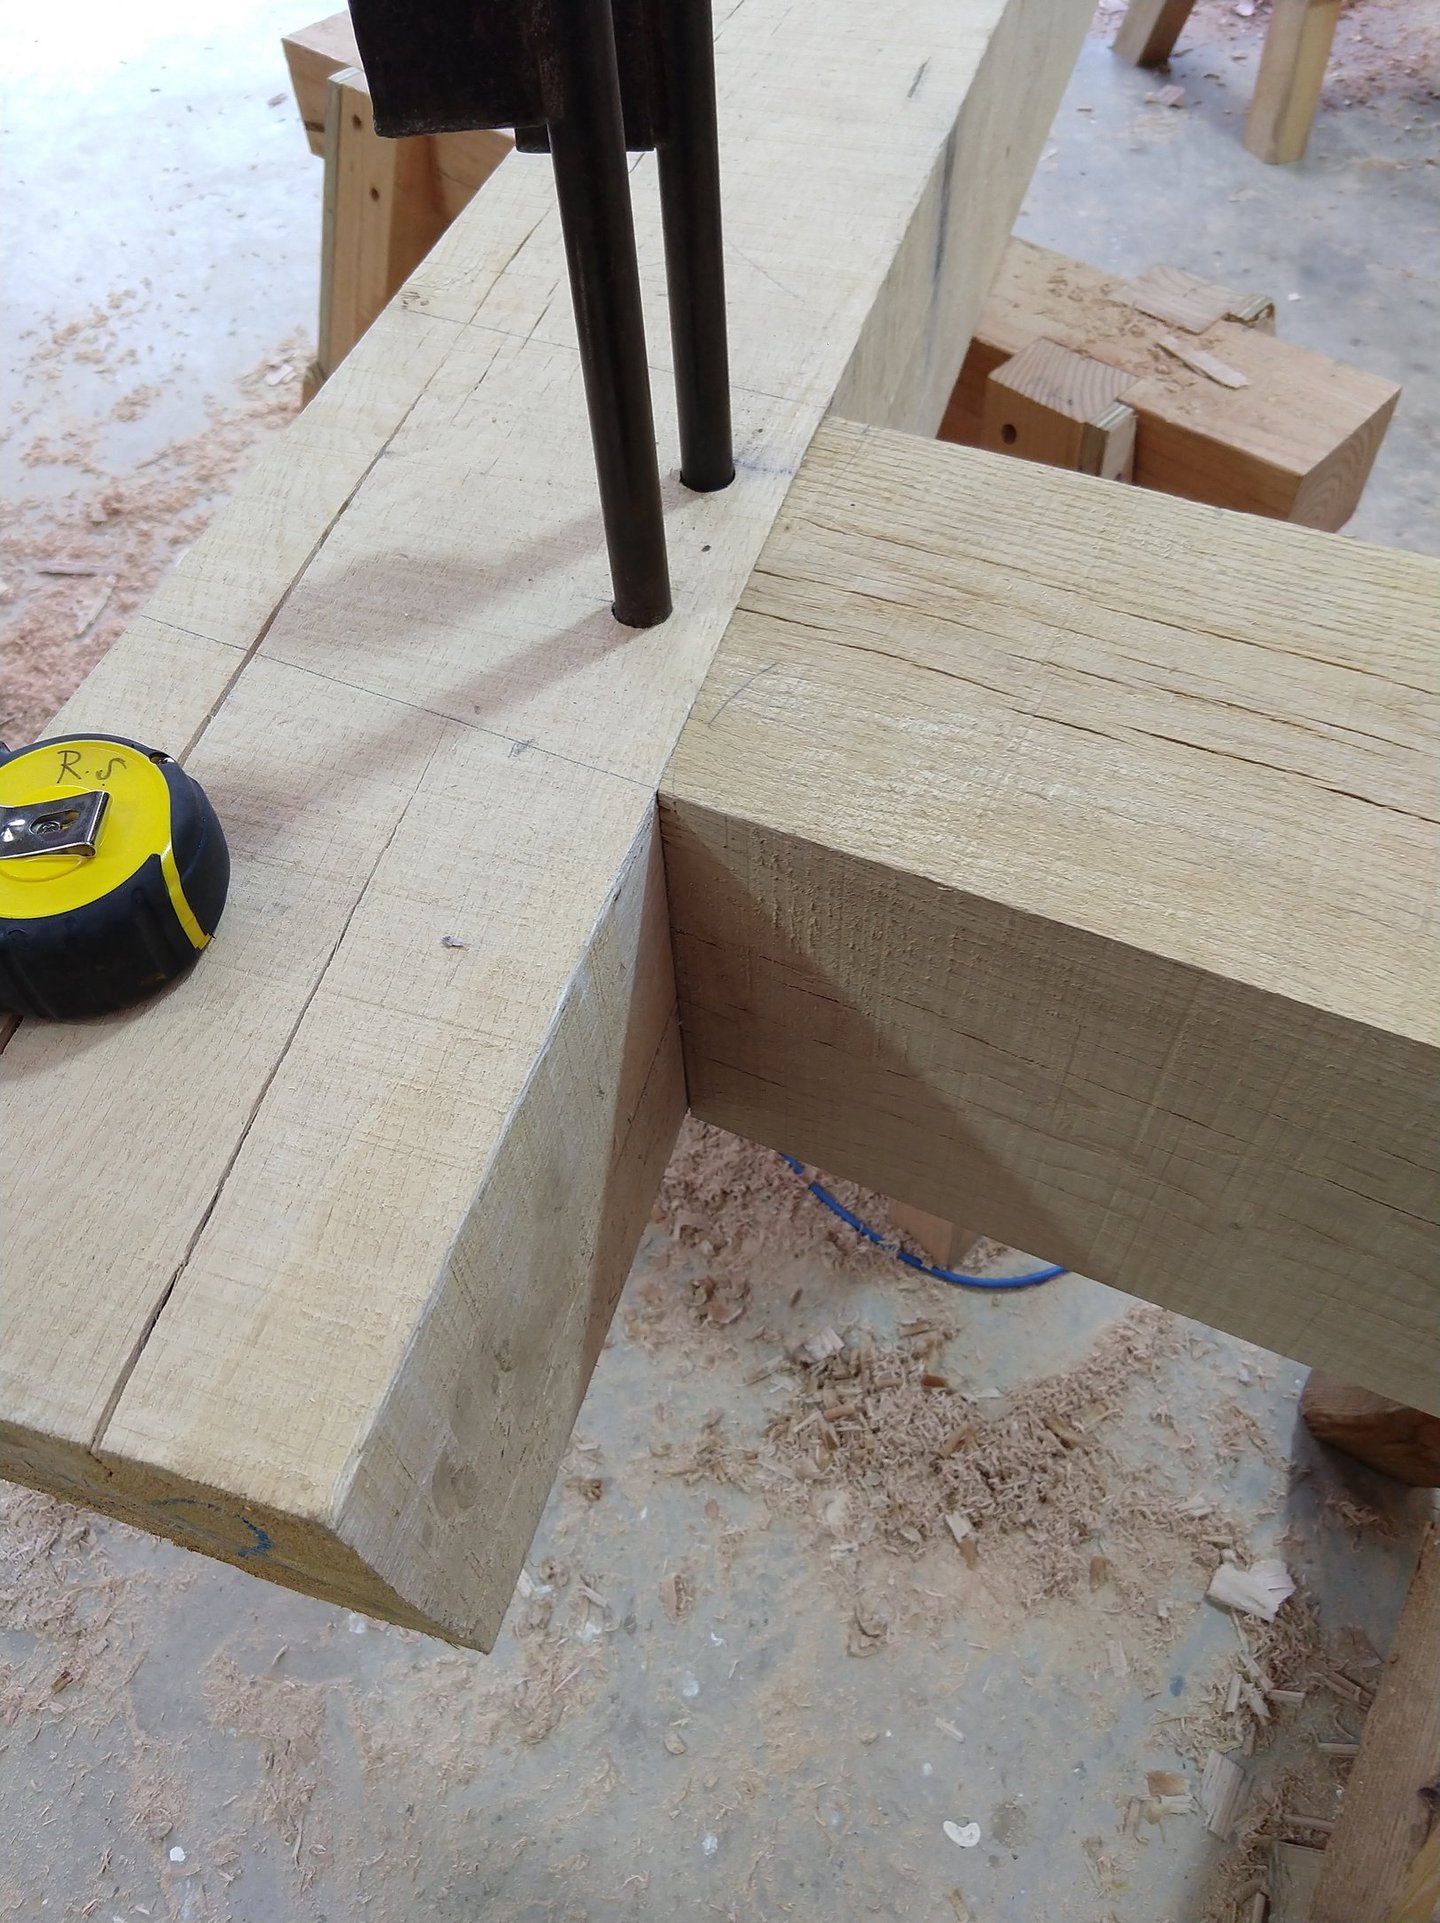
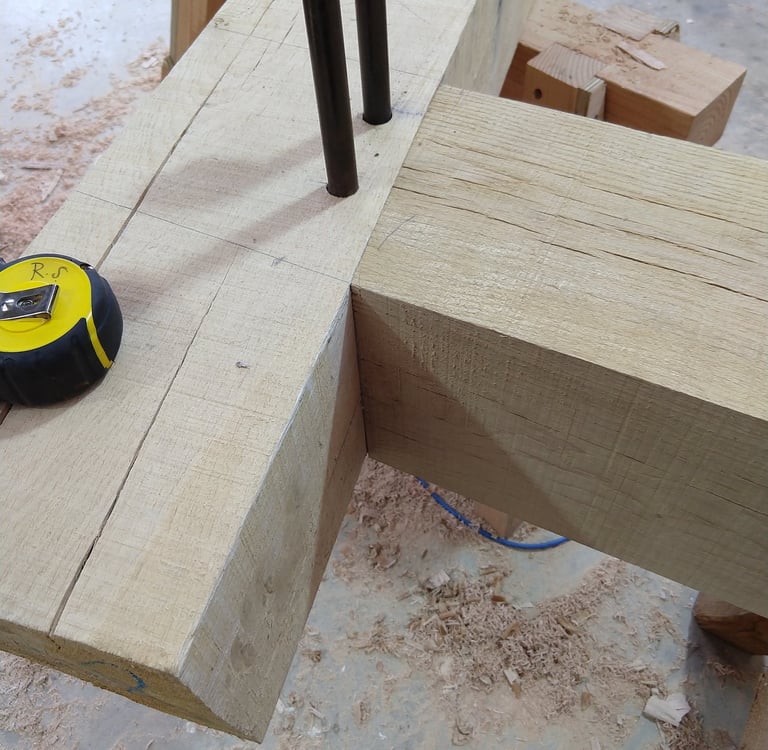
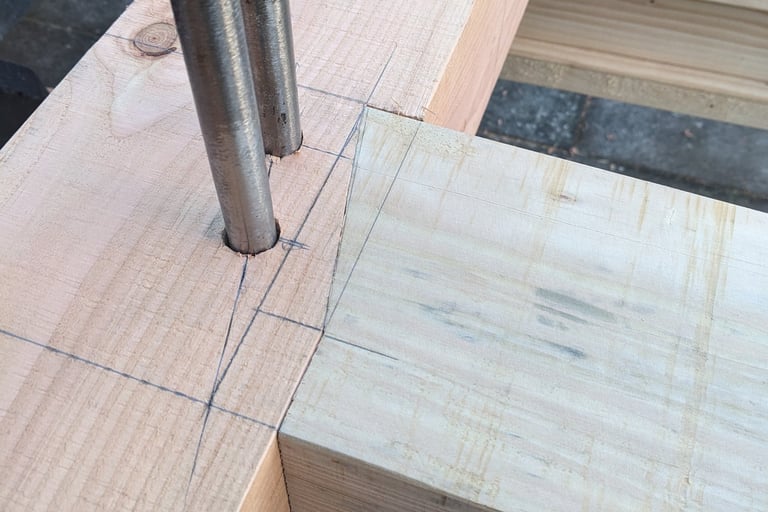
Joint name: Mortise & Tenon
Joint usage: This joint is the backbone of timber framing, it really is a fantastically versatile joint that is used all over!

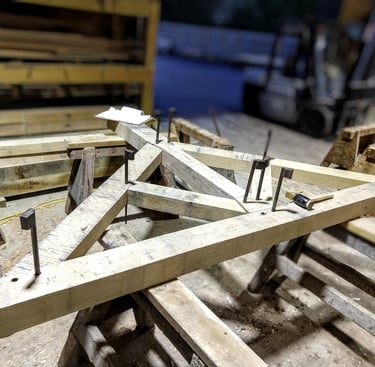

Precise, tight and well designed joinery is key to the structural integrity of your frame.
Contact
Email: steve@elliottstimberframing.co.uk
Mobile: +44 (0) 7505 011463
Wellesbourne
Warwickshire
© 2026. All rights reserved.